

Carriage bolts are more than just practical fasteners—they can enhance the overall quality and visual appeal of your projects. Whether you're a seasoned DIY expert or a daring beginner, the steps in this guide will ensure you install them like a pro.
Carriage bolts are a timeless and functional choice for woodworking and home improvement projects. With their charming round heads and square shoulders, these bolts not only provide sturdy functionality but also infuse a rustic, aesthetic appeal into your work. However, their unique design can leave even the most adventurous DIYers scratching their heads about how to install them correctly, especially when deciding between flat head carriage bolts and regular ones.
If you're ready to tackle the challenge and install carriage bolts like a pro, you've come to the right place. This step-by-step guide will walk you through the installation process, tools you'll need, and tips for knowing when to use flat head carriage bolts versus regular ones. 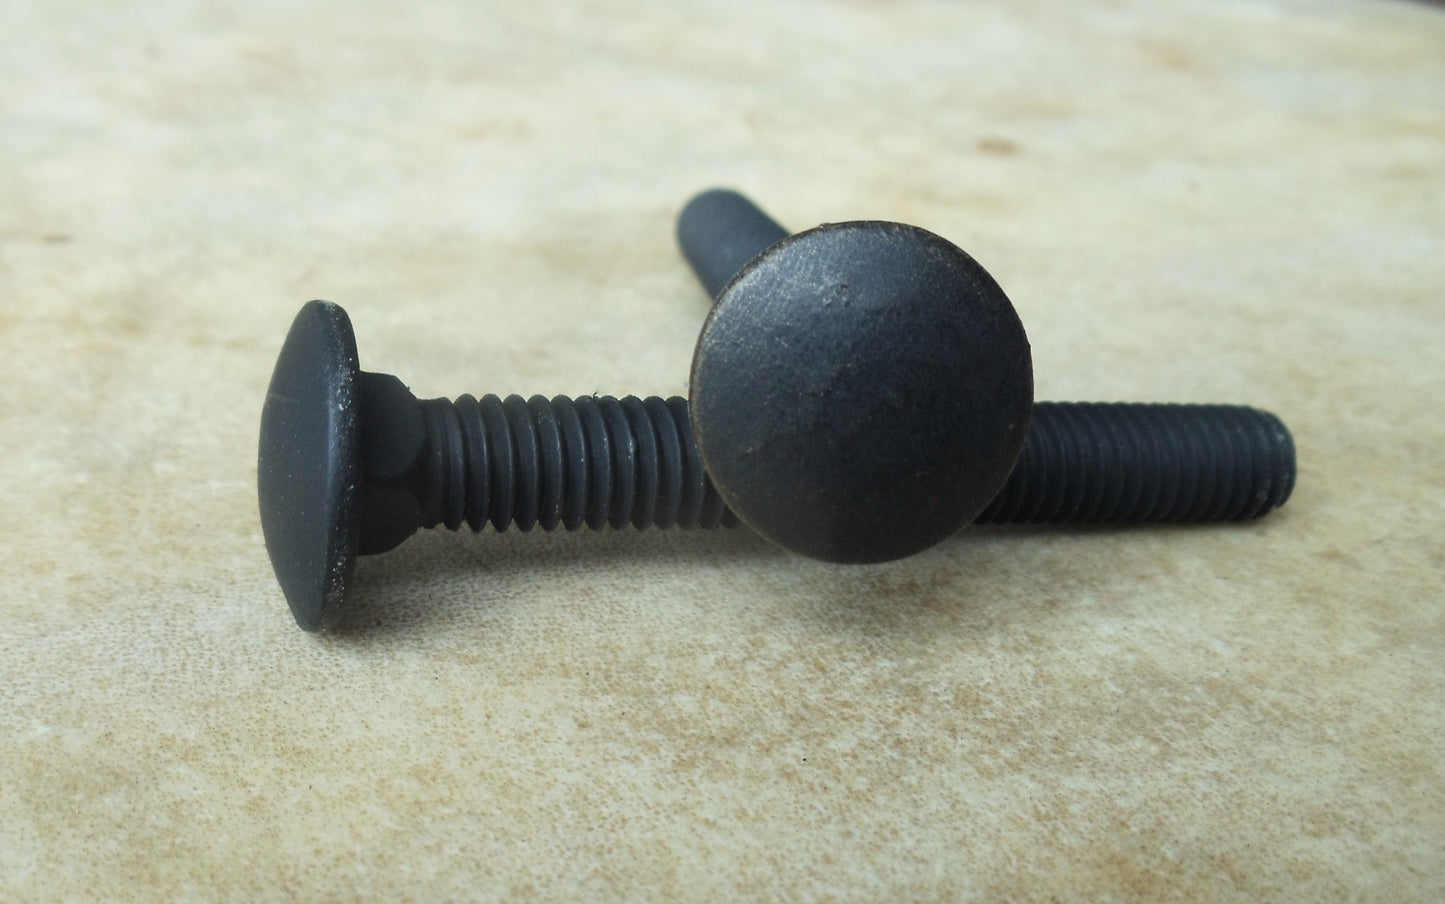
What Are Carriage Bolts?
Before we get into installation, it’s helpful to quickly cover what carriage bolts are. A carriage bolt is a specialized fastener designed for joining two materials, often wood-to-wood, wood-to-metal, or wood-to-plastic. The hallmark of a carriage bolt is its round, smooth head and square shoulder underneath, which prevents the bolt from spinning as you tighten the nut.
Flat head carriage bolts serve the same general purpose but feature a flat surface rather than a rounded one, which makes them ideal for projects where a flush finish is needed.
Now that we understand their purpose, let's learn how to install these fascinating fasteners! 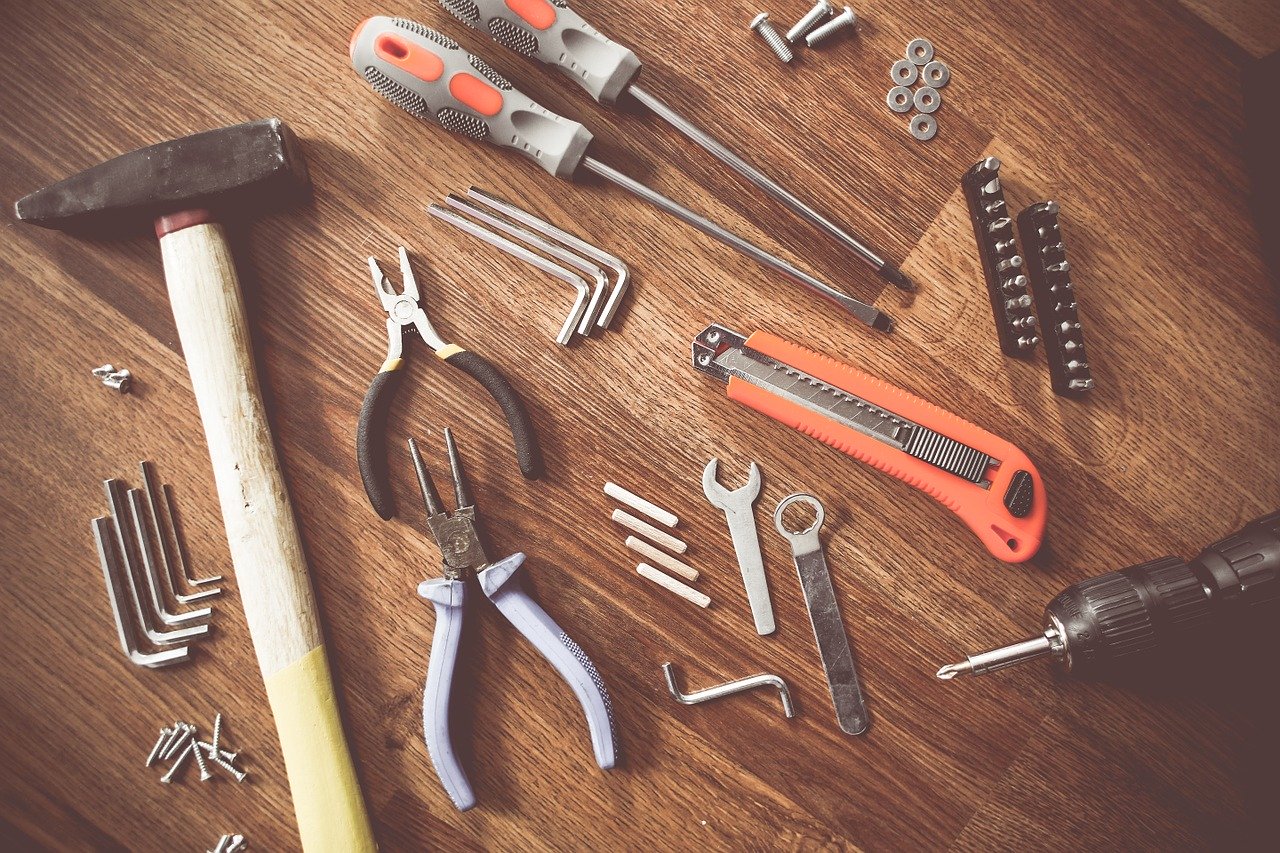
Tools You'll Need for Installation
Before you roll up your sleeves, make sure you have everything you’ll need on hand. Nothing kills DIY momentum like realizing halfway through that you’re missing a crucial tool! Here’s what you’ll need to get started:
- Hammer
- Drill
- Drill bit (diameter matching your carriage bolt size)
- A piece of wood (your project material)
- Carriage bolt
- Washer
- Nut
With these items laid out in front of you, you're ready to begin. 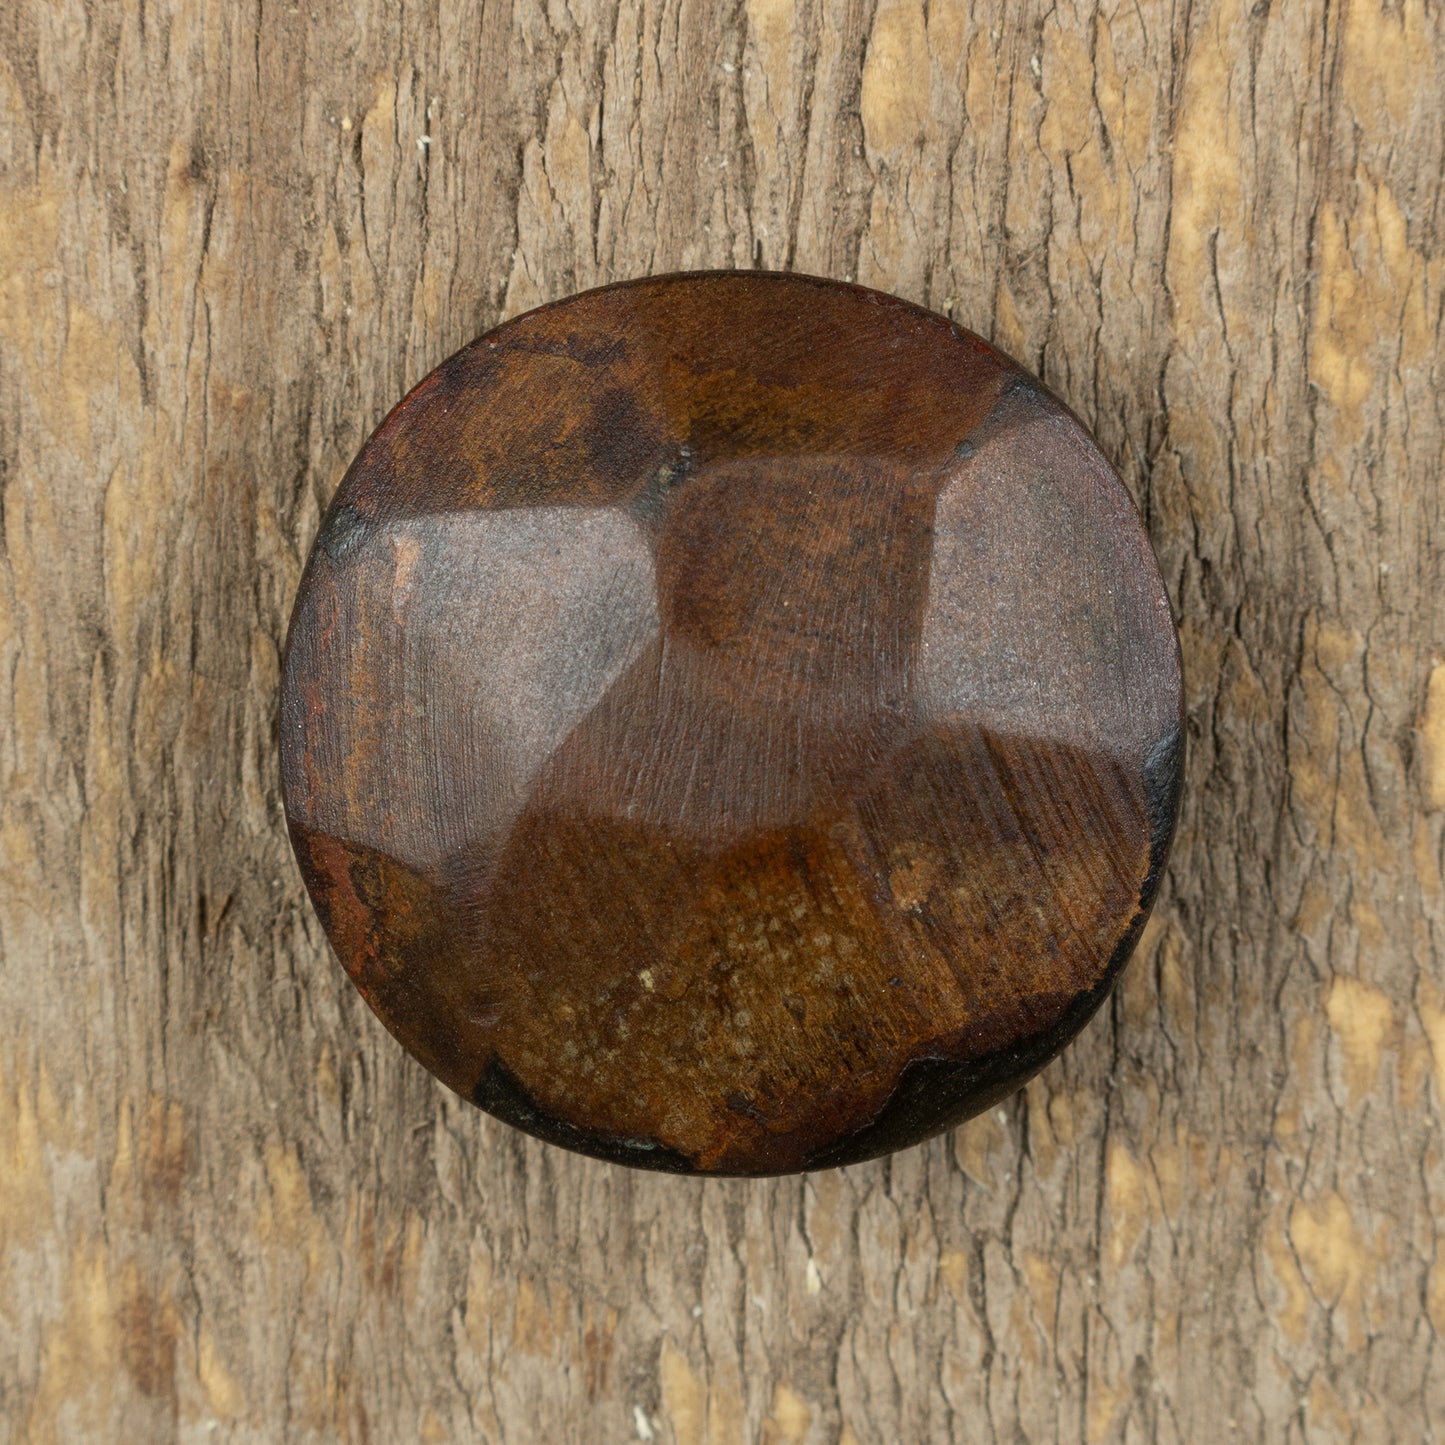
How to Install Carriage Bolts
Installing a carriage bolt is relatively simple but requires attention to detail to ensure a secure fit. Follow these steps for flawless installation:
Step 1: Drill the Hole
Begin by drilling a hole into your piece of wood. The diameter of the hole should match the diameter of your carriage bolt, but keep in mind that the fit should be snug.
Drills often come with guides for selecting the right bit size, but if you're unsure, it’s a good idea to test the bolt against the bit before starting. Precision is key here—a hole that’s too large will cause the bolt to wobble, while one that’s too small might make it impossible to insert.
Step 2: Insert the Carriage Bolt
Once your hole is ready, it’s time to slide in the carriage bolt. Push the bolt’s square shoulder through the hole. If it’s a tight fit, don’t be afraid to use a hammer to gently tap the bolt into place.
Make sure the rounded head of the bolt is flush against the surface of the wood.
Step 3: Attach the Washer and Nut
On the back side of the material, attach the washer first, followed by the nut. The washer is a crucial component because it helps to distribute the tightening force evenly across the surface of the wood. Skipping the washer can result in damage to your material or prevent the bolt from tightening properly.
Step 4: Tighten the Nut
Now for the fun part—tightening the nut! Use a wrench to tighten it gradually. You’ll notice that as you do, the square shoulder of the bolt will dig into the wood, locking itself into place. Continue tightening until the underside of the bolt’s head sits snug against the surface of the wood.
Congratulations! You’ve successfully installed a carriage bolt. Just repeat this process as needed for the remaining bolts in your project. 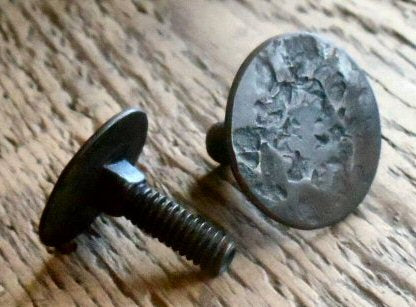
When to Use a Flat Head Carriage Bolt Versus a Regular Carriage Bolt
Both regular and flat head carriage bolts serve unique purposes, and knowing when to use each will help you achieve a polished, professional finish for your project.
Regular Carriage Bolts
Regular carriage bolts, with their rounded heads, are excellent for applications where aesthetics and strength go hand in hand. The rounded head creates a smooth surface, which can be useful for safety (no sharp edges to catch clothing or skin) and adds a classic look to fences, wooden gates, and outdoor furniture. These are your go-to bolts for most wood-to-wood or wood-to-metal connections.
Flat Head Carriage Bolts
Flat head carriage bolts are the perfect choice when you need a flush finish. They’re commonly used in projects involving surfaces that need to remain smooth, such as flooring, decks, or tabletops. Their flat design reduces protrusion, making them ideal in spaces where traditional rounded heads might interfere with functionality or design.
Next time you’re at the hardware store, consider picking up a mix of flat and regular carriage bolts so you have options to suit different projects.
Elevate Your DIY Projects with Carriage Bolts
Carriage bolts are more than just practical fasteners—they can enhance the overall quality and visual appeal of your projects. Whether you're a seasoned DIY expert or a daring beginner, the steps in this guide will ensure you install them like a pro.
Remember to pay special attention to the tools you use, the snugness of your hole, and the type of bolt best suited for your project’s needs.
Have a project in mind but aren't sure where to start? Share your ideas in the comments below, or explore our blog for more DIY tips and tricks to refine your woodworking skills!