

Looking to elevate your fireplace with a touch of rugged, old-world charm? Our hand-forged mantel straps are the perfect finishing detail, whether you're anchoring a reclaimed beam or dressing up a new mantel with rustic character. This installation guide will walk you through how to properly install a mantel strap from 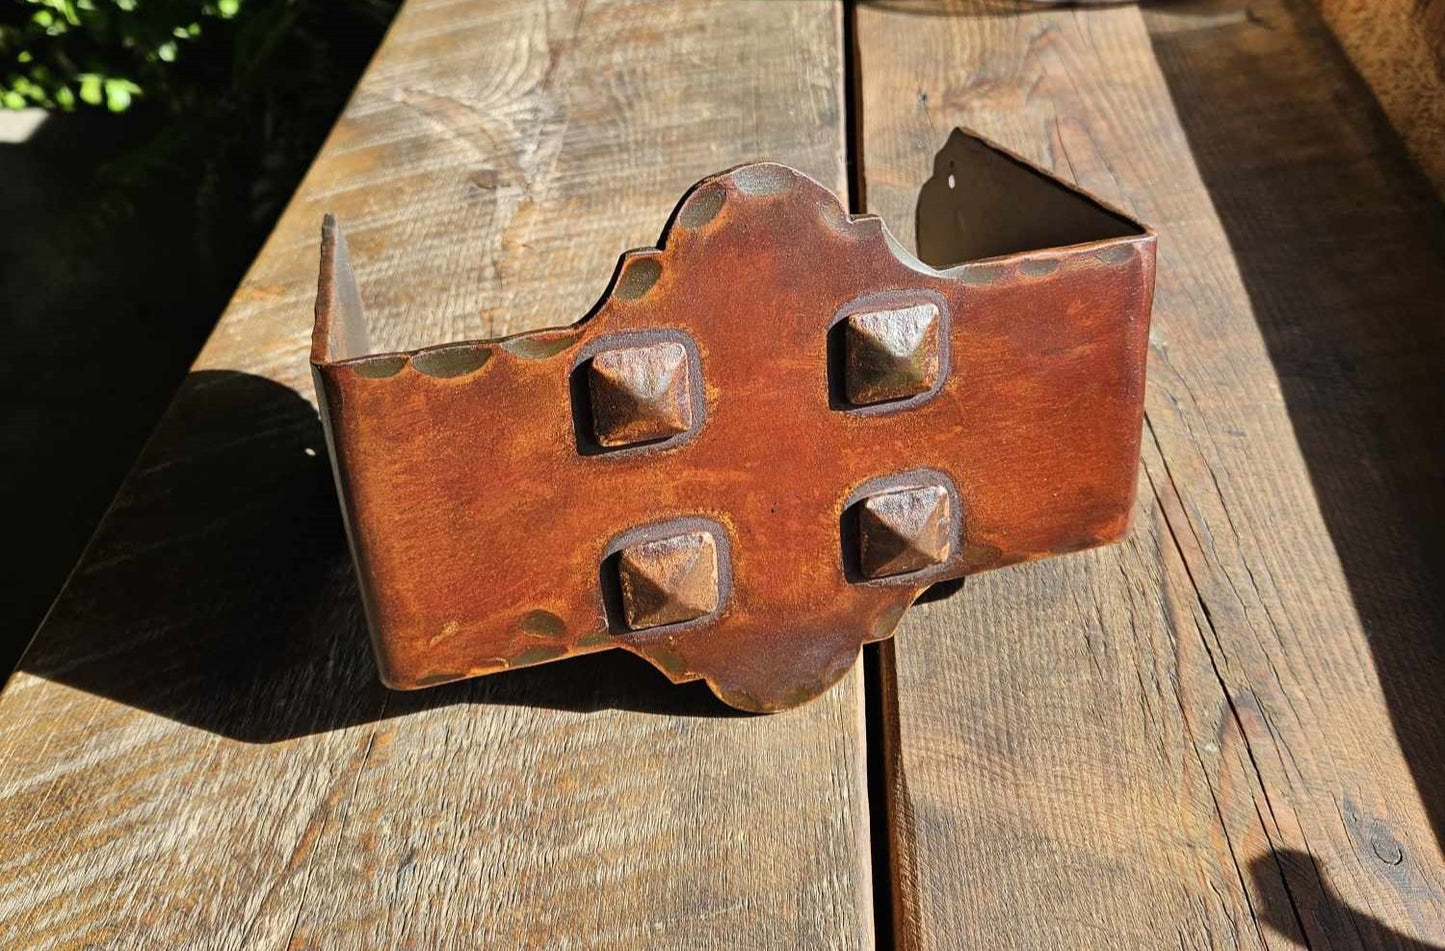
What You’ll Need:
-
Screws (we recommend using our decorative square head or hammered screws for a cohesive look, but you can also request countersunk screws)
-
Screwdriver or drill
-
Measuring tape
-
Pencil or marker
-
Level
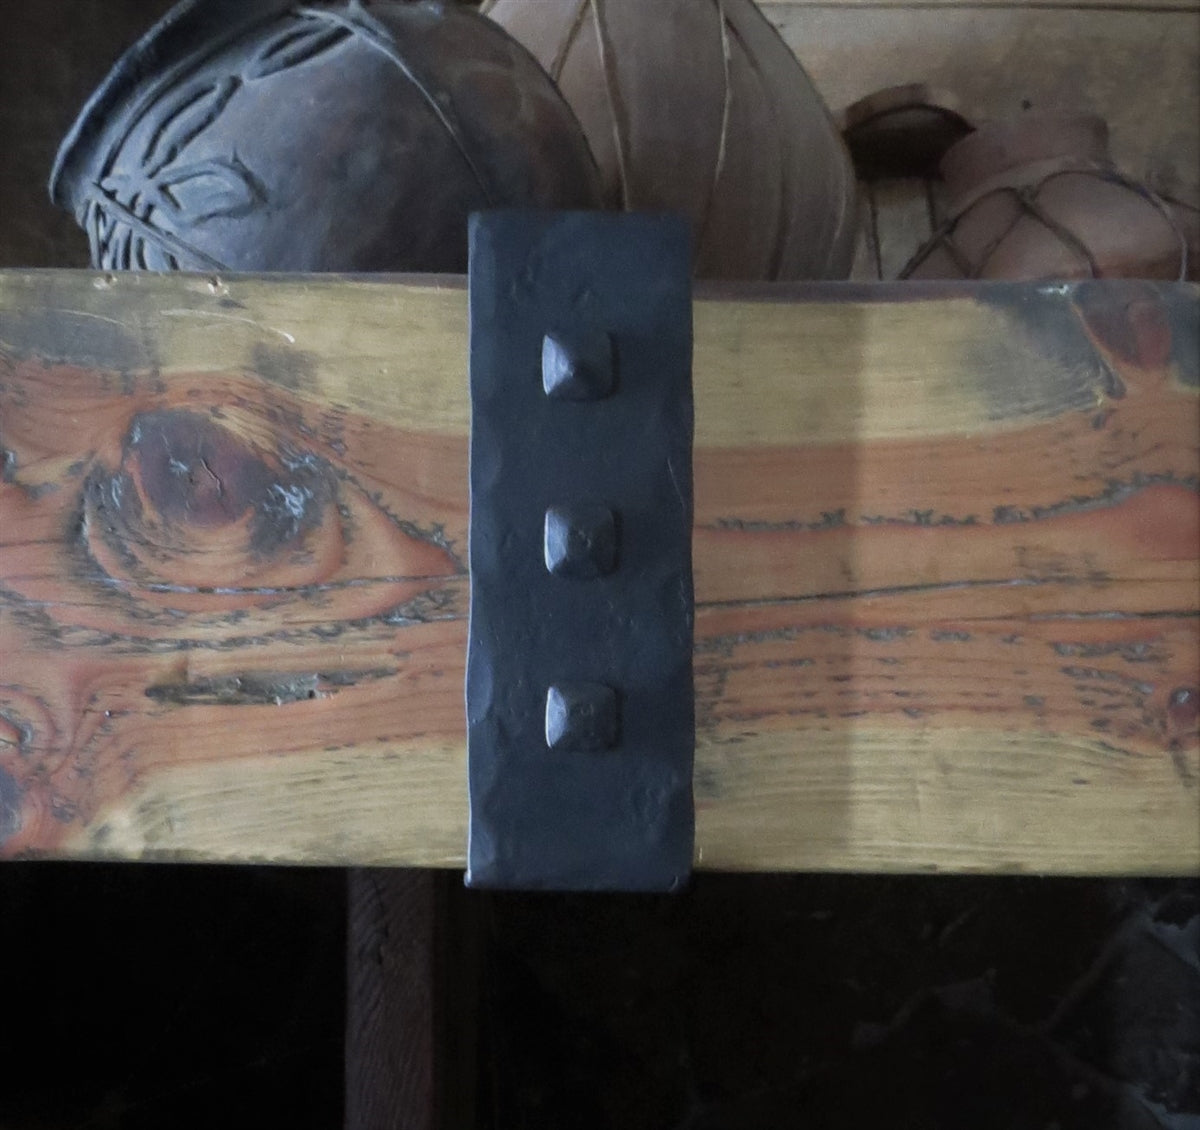
Note: The clavos (decorative rivets) on the face of our mantel straps are welded and are not meant to be used as fasteners. All actual fastening should be done through the top and bottom of the strap.
Step 1: Dry Fit the Strap
Start by sliding the mantel strap onto your mantel beam. Each strap is designed to wrap snugly over the face and sides of your mantel. Take a moment to align the strap so it sits evenly and centered where you want it. Use a level to make sure it’s straight.
Step 2: Mark Fastener Holes
With the strap in place, use a pencil or marker to mark the holes on the top and bottom of the strap where you’ll be inserting screws. Be sure the marks are centered on the beam and in line with each other for a clean, professional look.
Step 3: Pre-Drill (Optional but Recommended)
For hardwood mantels or extra precision, pre-drill small pilot holes at your marked screw points. This helps prevent splitting and makes installing the screws easier.
Step 4: Fasten the Strap
Once your holes are marked (and optionally pre-drilled), slide the strap back on and insert your screws through the top and bottom flanges of the strap — never through the front. Tighten the screws until the strap is securely fastened, but avoid over-tightening which can warp the metal or damage the wood.
Step 5: Final Touches
Double-check that the strap is level and evenly aligned. If you're using multiple straps, repeat the steps above for each one, maintaining equal spacing between them for symmetry.
A Note on Style
Looking for Matching Hardware?
Pair your mantel strap with matching decorative screws, clavos, or custom brackets to complete the look. As always, our team is here if you need help choosing the perfect pieces.