

Brass angle iron offers the perfect combination of durability and style, making it an excellent choice for home décor enthusiasts, interior designers, and DIY lovers. Whether you’re protecting furniture edges, upgrading a windowsill, or adding decorative trims, its versatility and luxurious appearance make every project shine.
When it comes to home improvement, the finishing touches often make the biggest impact. Whether you're looking to add a touch of elegance or protect the high-traffic areas in your house, brass angle iron is a game-changer. This versatile material not only offers durability but also brings a sophisticated flair to your home décor.
Intrigued? Keep reading to discover what brass angle iron is, its many uses, and how you can incorporate it into your design projects effortlessly. 
What is Brass Angle Iron?
Brass angle iron is a robust, L-shaped metal profile crafted from brass, a timeless alloy admired for its golden hue and resilience. Its sturdy construction makes it perfect for both functional purposes, such as protection, and decorative applications to enhance your interior's aesthetic.
Unlike standard steel or aluminum angle iron, brass provides a warm, luxurious look that complements a variety of design styles, from traditional to modern. Its natural resistance to corrosion also ensures it will retain its beauty for years to come.
But what really sets brass angle iron apart is its versatility. Whether you're looking to protect vulnerable surfaces or enhance the charm of everyday objects, this material can do it all. 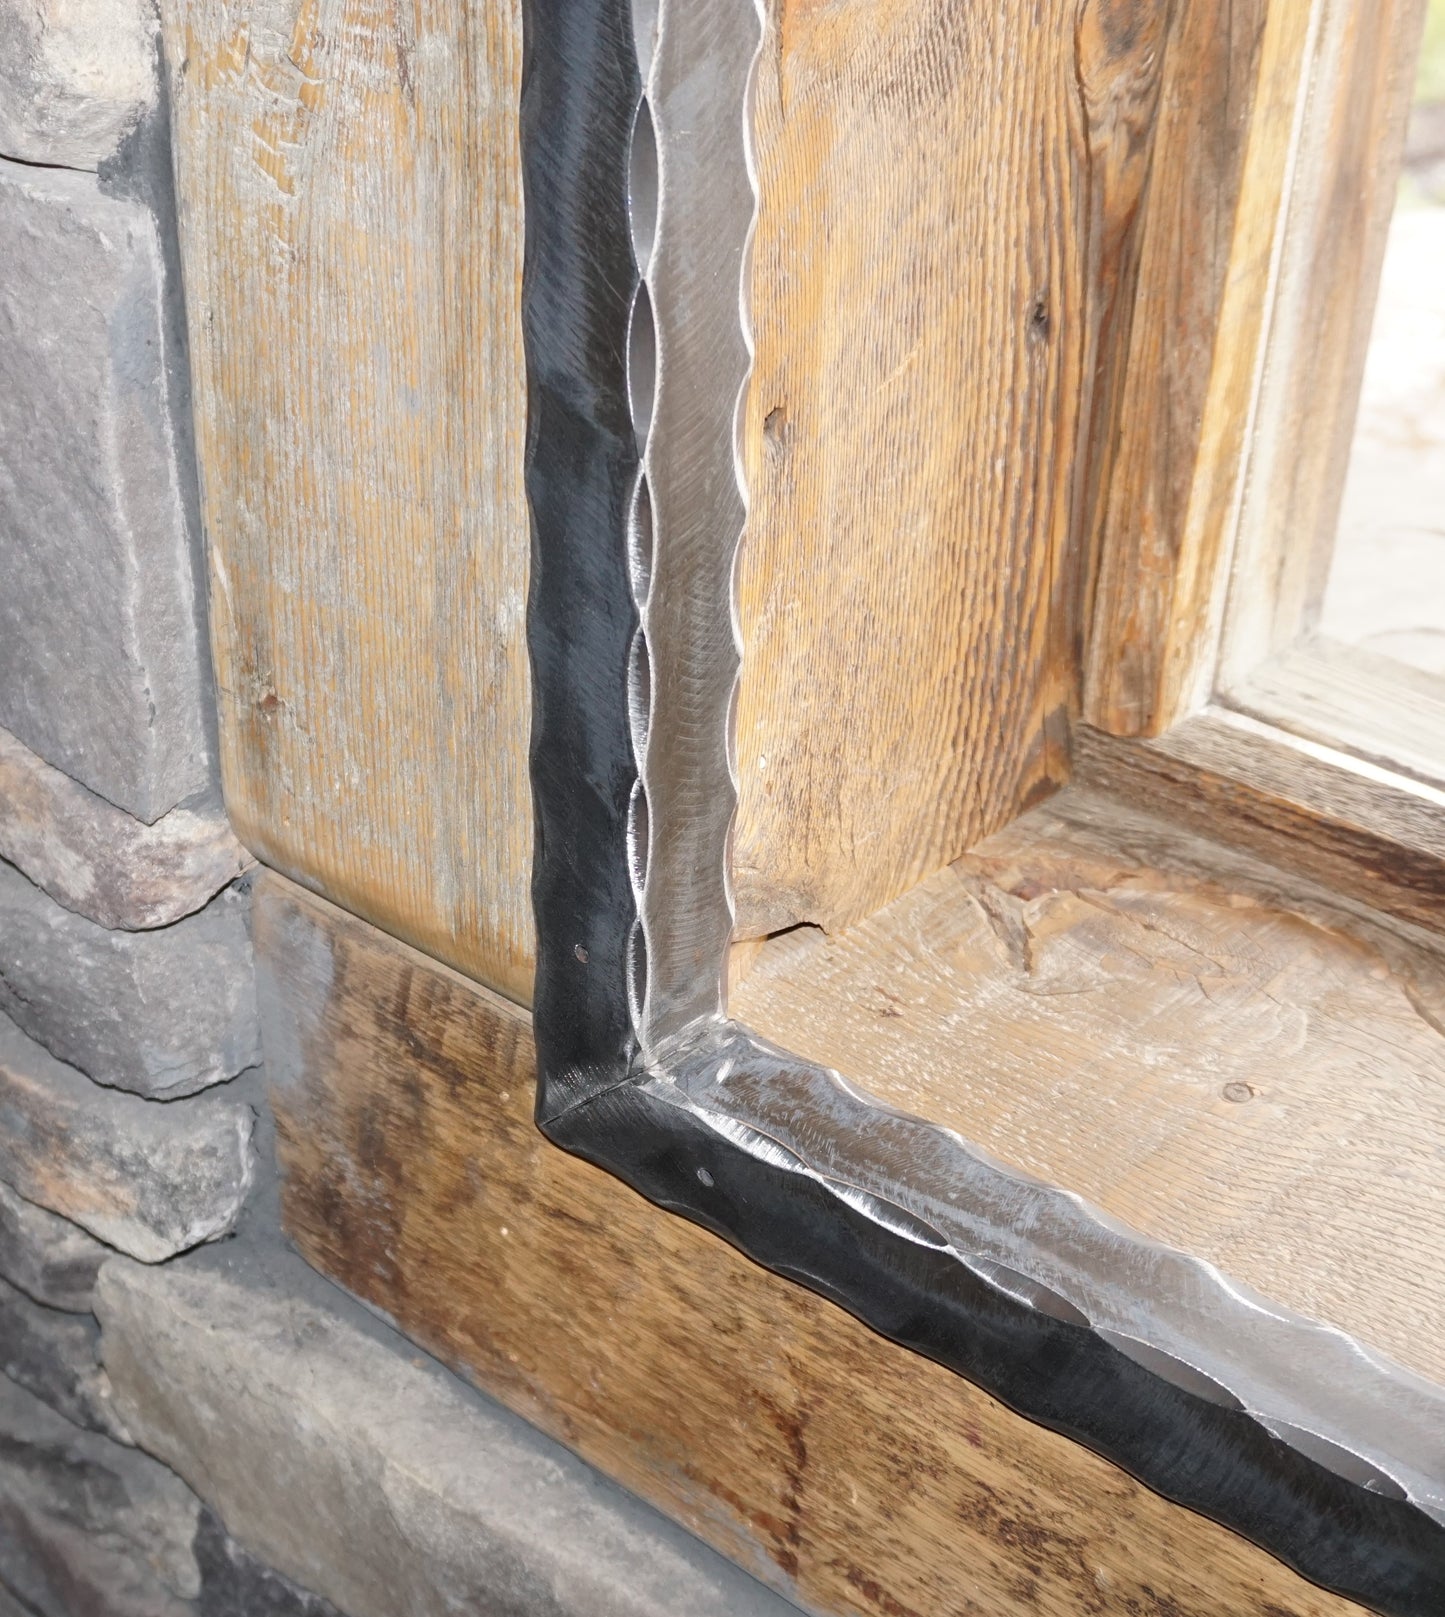
Uses for Brass Angle Iron
Brass angle iron isn't just practical—it's stylish. Here are some of the most popular ways homeowners, designers, and DIY enthusiasts incorporate it into their spaces:
1. Corner Protector for Walls and Furniture
Corners can take a beating, especially in homes with kids, pets, or high-traffic areas. Brass angle iron serves as an effective corner protector, safeguarding walls, furniture edges, and cabinets from chips, scratches, and everyday wear and tear. Plus, its golden finish adds a decorative touch, making even protective features look intentional and refined.
2. Window Sill Wrap
Window sills are prone to damage from sunlight, moisture, and constant use. Wrapping your sills with brass angle iron not only reinforces their durability but also provides a polished, high-end look that elevates your entire window frame.
3. Countertop or Table Trim
Want to upgrade your kitchen or dining area? Use brass angle iron as a trim for countertops or tabletops. Its gleaming texture contrasts beautifully with natural stone surfaces or wooden furniture, creating a striking visual element that makes your interior stand out.
4. Shelf Trim
For those who love DIY shelving projects, brass angle iron is an excellent trim option. Pair it with natural wood or painted shelves to create a sleek, industrial-chic look. It’s especially great for achieving a magazine-worthy display in your living room, bedroom, or home office.
5. Door Trim
Bring attention to your doorways with brass angle iron. Ditch standard door trims for this metallic alternative to add character to any space while also ensuring your doors stay in excellent condition over the years. 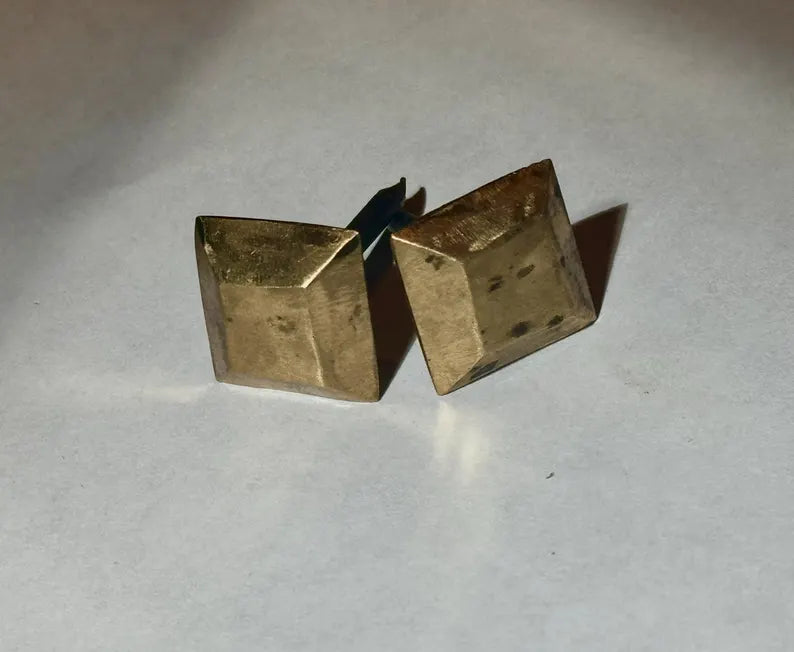
Accessories for Brass Angle Iron
The beauty of brass angle iron lies in the details, and you can make it even more tailored to your space with matching accessories. Here’s what you’ll need:
1. Brass Clavos
These small, decorative fasteners are perfect for adding texture and personality to your brass installations. They work exceptionally well on furniture, doors, or any component where you want a touch of old-world charm.
2. Brass Screws
Don’t overlook the importance of consistent hardware! Brass screws not only hold everything together but also contribute to a seamless, cohesive design. Opt for solid brass screws that align with the aesthetic of your angle iron for a polished finish.
How to Install Brass Angle Iron
Installing brass angle iron might sound intimidating, but it’s surprisingly simple with the right tools and preparation. Here’s a step-by-step guide to help you get started:
Step 1: Measure and Cut
Measure the surface or corner you’re planning to reinforce or decorate. Using a metal-cutting saw, trim your brass angle iron to the appropriate length. (Tip: Always wear safety goggles and gloves during this step!)
Step 2: Sand the Edges
After cutting, sand down any rough edges to ensure a clean, safe finish. This step is crucial for avoiding minor injuries and ensuring proper alignment during installation.
Step 3: Mark and Drill
Place your brass angle iron where you'd like to install it and mark the points where screws will go. Drill pilot holes into these marked spots to make installation quick and easy.
Step 4: Attach with Brass Screws
Secure your brass angle iron by fastening it with durable brass screws. Ensure they are evenly spaced for both functionality and visual balance.
Step 5 (Optional): Add Brass Clavos
For an extra decorative touch, hammer in brass clavos or other embellishments, depending on the desired aesthetic.
Step 6: Polish and Enjoy
Wipe down your brass angle iron with a soft cloth to remove any fingerprints or smudges. Stand back and admire your beautifully upgraded space!
Elevate Your Space with Brass Angle Iron
Brass angle iron offers the perfect combination of durability and style, making it an excellent choice for home décor enthusiasts, interior designers, and DIY lovers. Whether you’re protecting furniture edges, upgrading a windowsill, or adding decorative trims, its versatility and luxurious appearance make every project shine.
At
Looking for expert advice or custom solutions? Contact us today to discuss your project and discover how we can help you turn your vision into reality.