

Installing rosettes is a quick project with big visual payoff. Whether paired with decorative screws for a clean finish or clavos for added character, Old West Iron’s iron rosettes help you build a space that’s rich in texture, heritage, and handcrafted beauty.
Adding iron rosettes is one of the easiest ways to elevate the look of your home with handcrafted detail. Whether you’re restoring a historic property or looking to accent modern cabinetry or doors, Old West Iron’s iron rosettes bring an artisan touch to any surface. Below, we walk you through the simple process of installing rosettes securely and stylishly.

What You’ll Need:
-
Rosettes of your choice
-
Measuring tape
-
Pencil or chalk for marking
-
Drill and appropriate bit
-
Screwdriver or hammer

Step 1: Choose the Right Rosettes
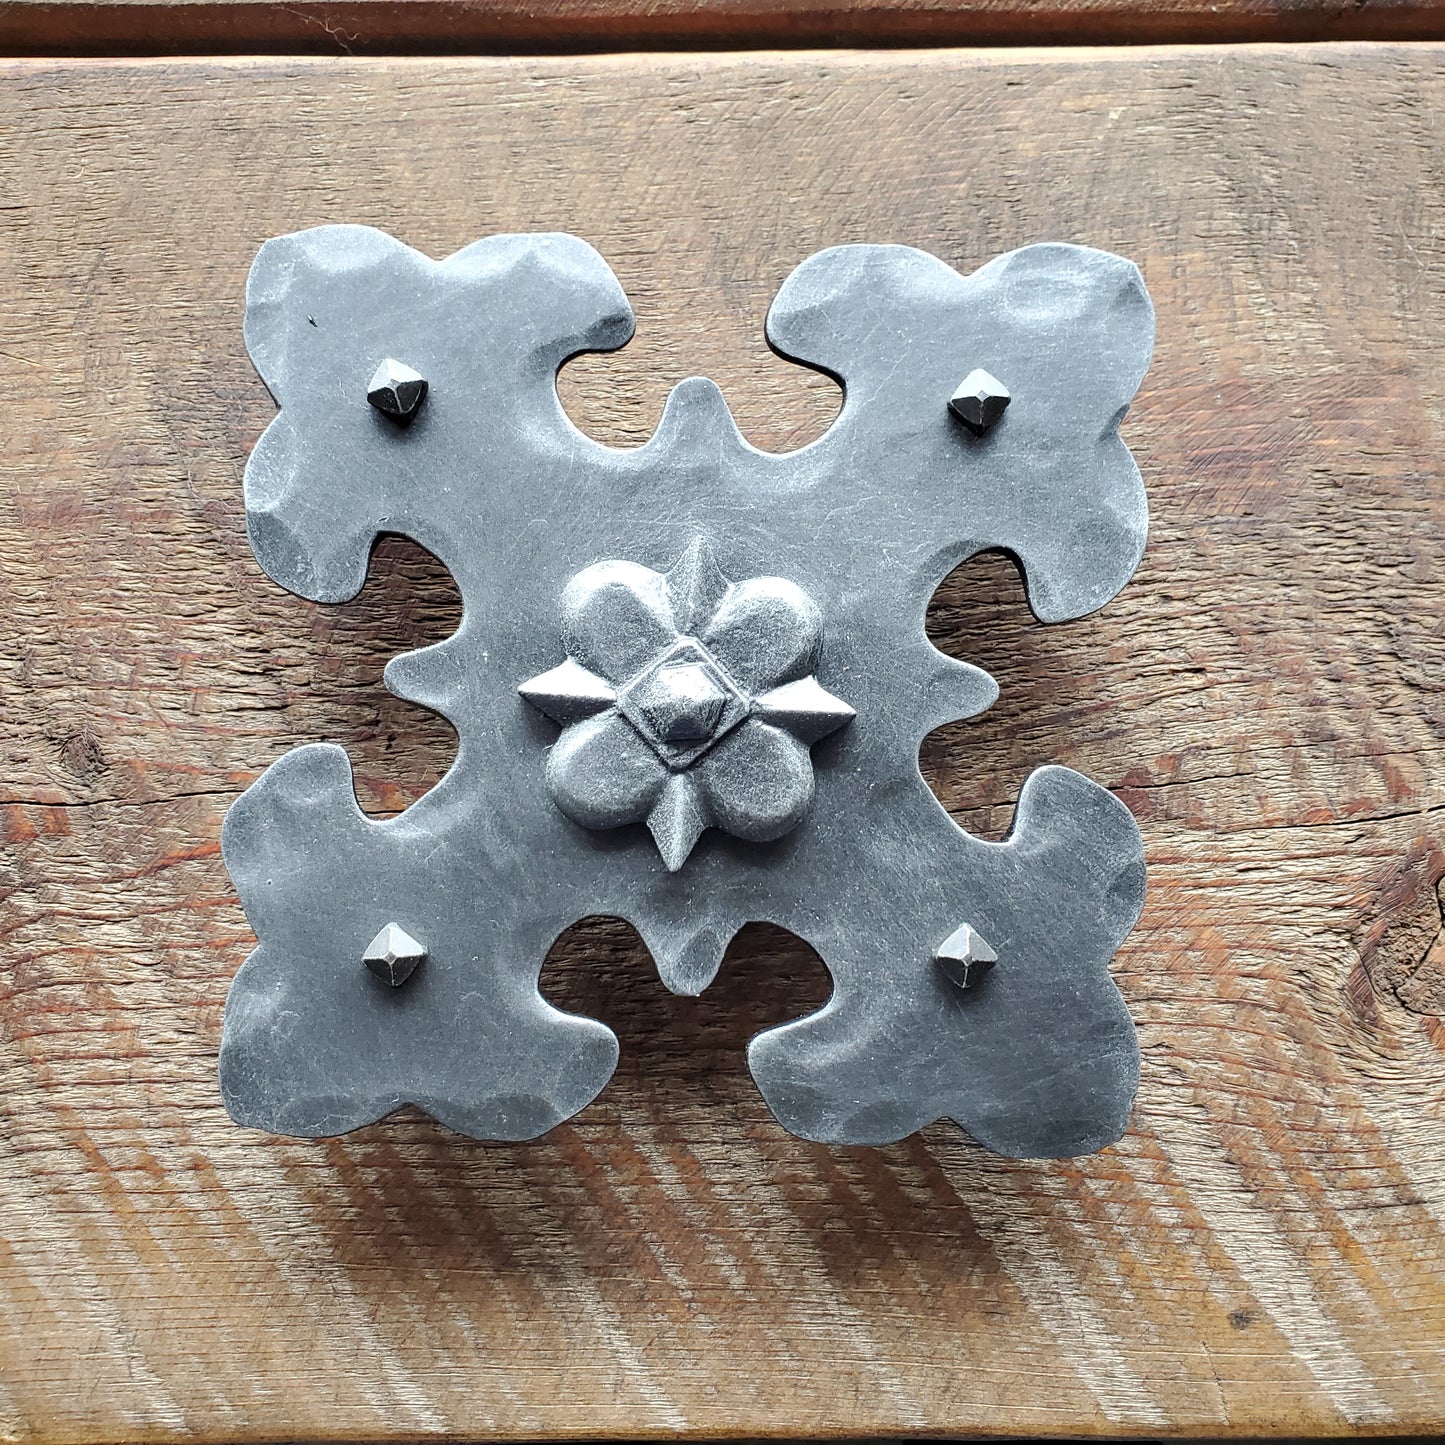
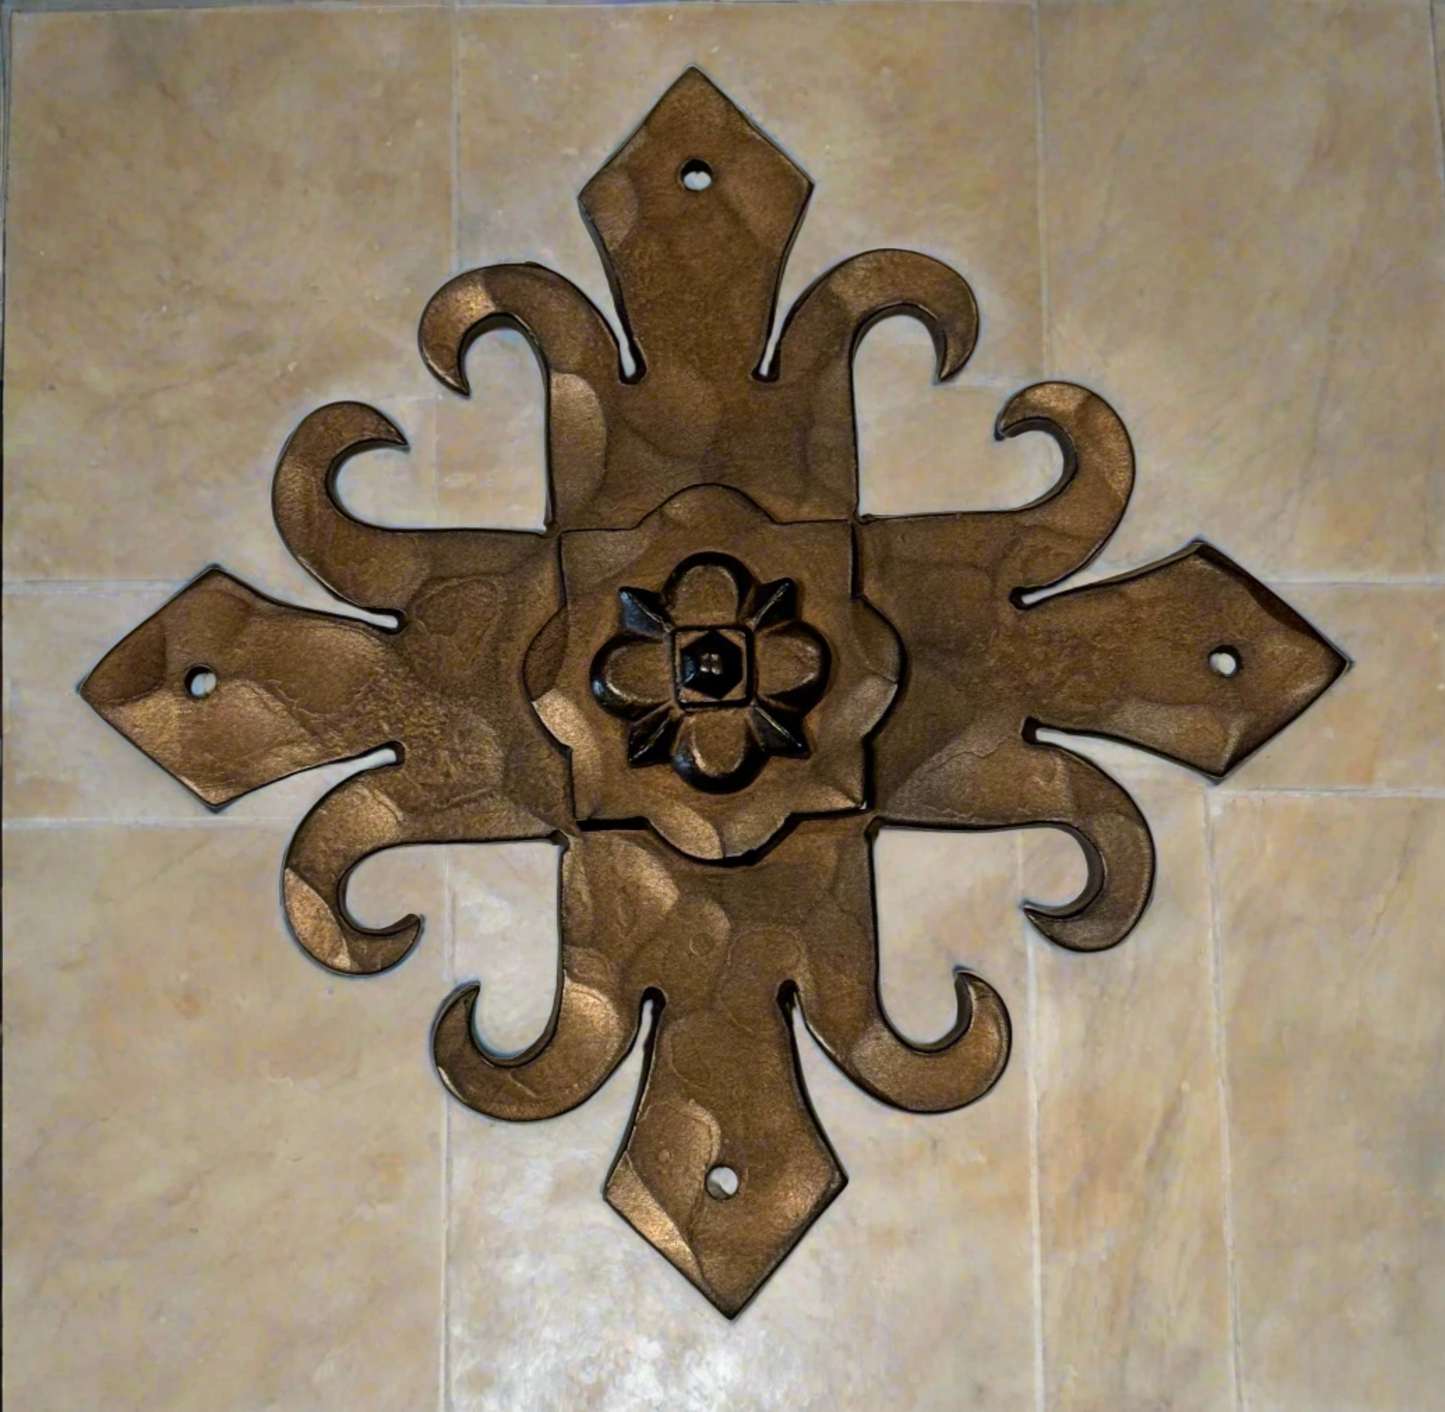
Before installation, choose rosettes that complement your project. Our iron rosettes collection includes rustic, Spanish, Victorian, and Old World designs in a variety of shapes and finishes. They can be used to accent doors, beams, cabinets, corbels, or even as baseplates for clavos or bolts.

Step 2: Mark Your Placement
Hold the rosette in the desired location and use a pencil or chalk to mark the center or corners. Be sure to measure carefully to maintain symmetry — especially if installing multiple rosettes in a row or pattern. This step ensures a clean, professional finish.

Step 3: Pre-Drill Mounting Holes
Use a drill bit slightly smaller than your mounting hardware to pre-drill holes into the marked location. This helps prevent wood splitting and ensures your rosette installs flush against the surface.
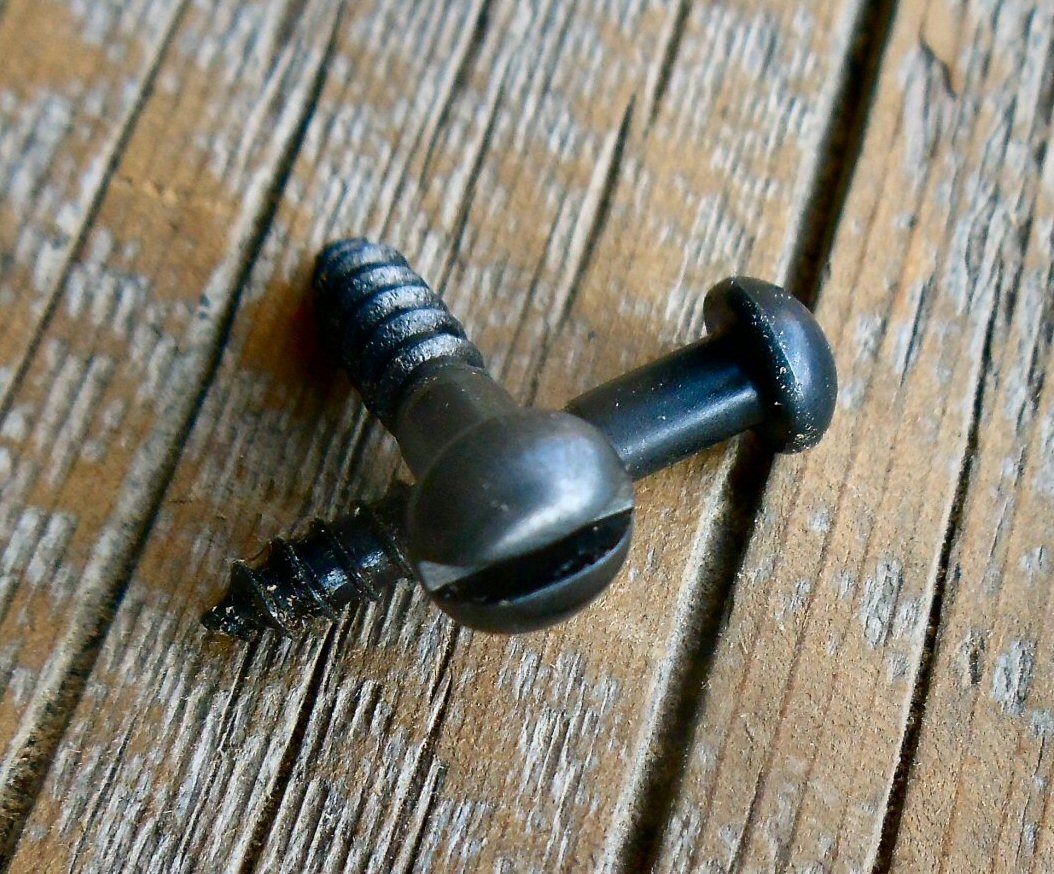
Step 4: Choose Your Mounting Hardware
You can use standard wood screws for utility installs, but for visible applications, we recommend our decorative screws for a more cohesive, finished look. These screws come in various hammered and aged finishes to match or contrast your rosettes perfectly.
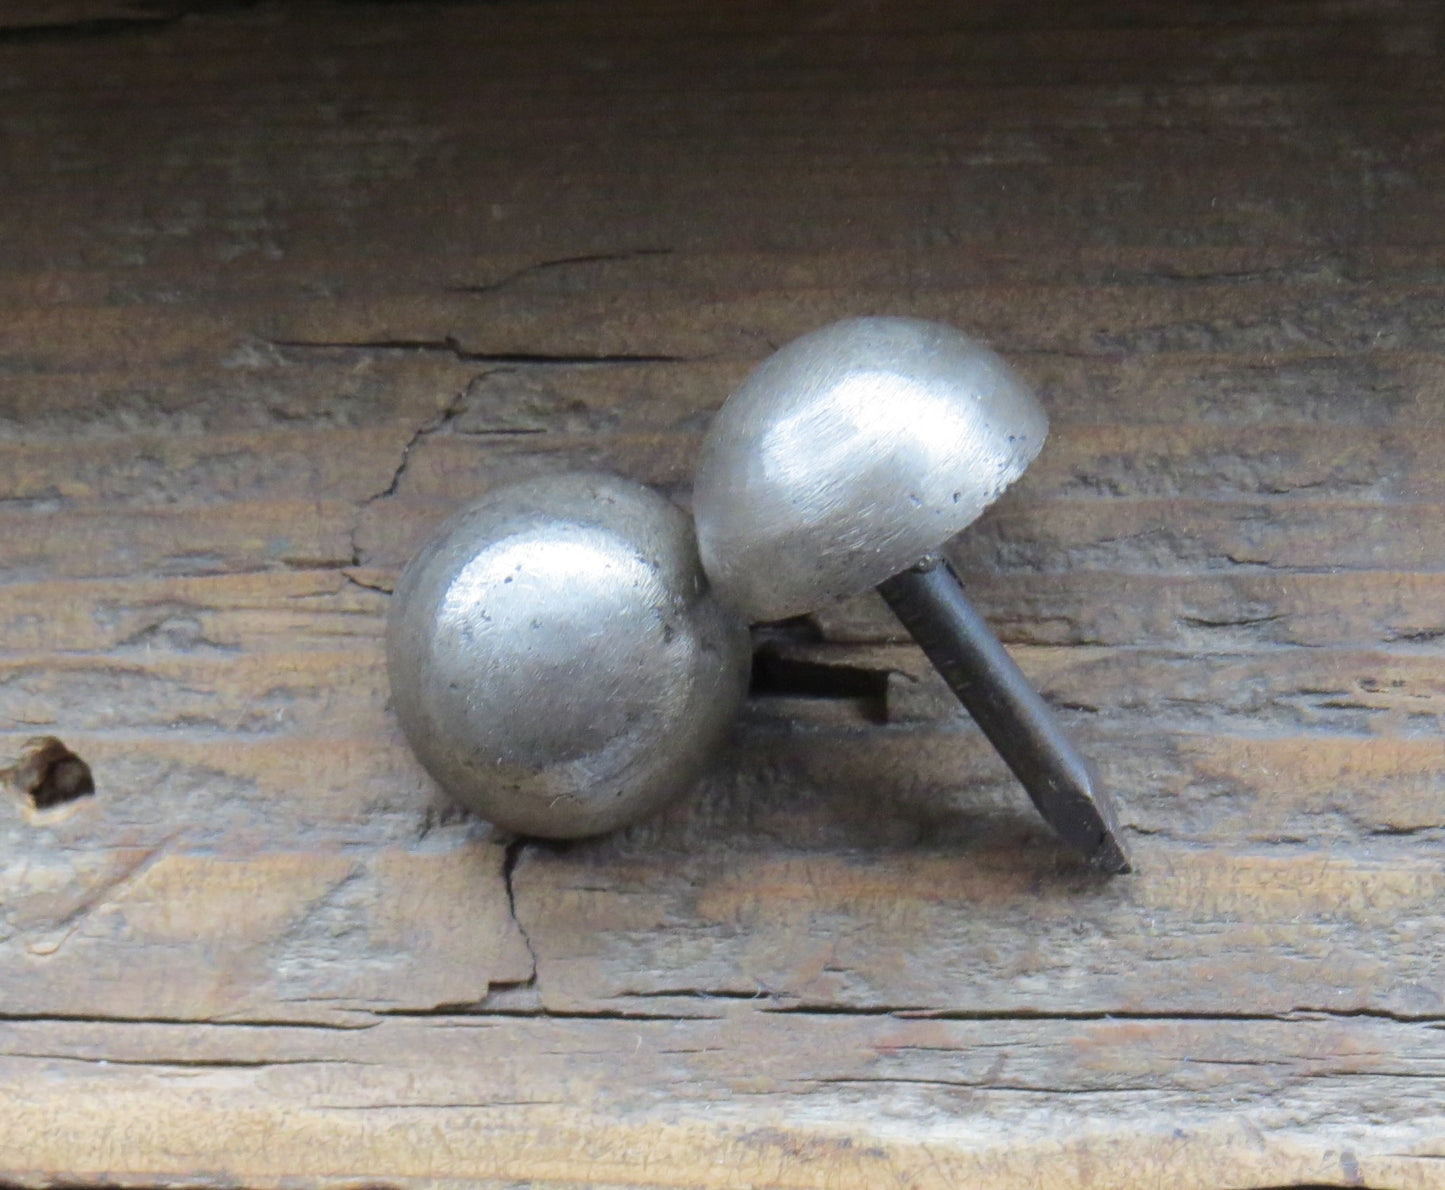
Alternatively, for a more ornamental touch, consider securing your rosettes with clavos. These decorative nail heads can be tapped in to give a historical or medieval appearance, adding both texture and depth.
Step 5: Install the Rosette
Align the rosette with your marks and insert the mounting hardware through its center or designated holes. Secure it using a screwdriver or gently tap in clavos with a hammer, being careful not to damage the face of the rosette.
Tip: If you're using clavos, pre-drilling a shallow pilot hole can help guide the nail and reduce the risk of splitting the rosette or base material.

Step 6: Final Touches
Once installed, ensure the rosette sits flush and is secure. If desired, touch up around the edges with matching finish or paint for a seamless integration. You can also mix and match rosettes with other iron accents like hinges, straps, or iron bolts to complete the look.
Add Timeless Charm to Any Space
Installing rosettes is a quick project with big visual payoff. Whether paired with decorative screws for a clean finish or clavos for added character, Old West Iron’s iron rosettes help you build a space that’s rich in texture, heritage, and handcrafted beauty.