

Learn how to install a cane bolt with our step-by-step guide. Secure your gate with rustic hardware built to last — hand-forged by
Secure Your Gate the Old-Fashioned Way
At
Here’s how to do it right — with grit, tradition, and craftsmanship.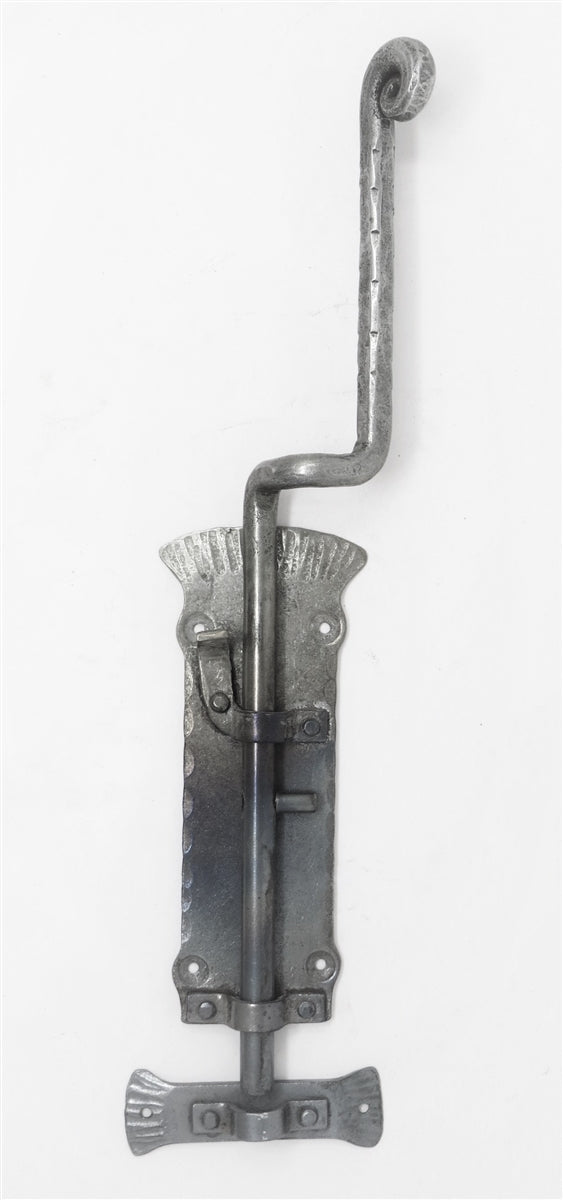
What Is a Cane Bolt?
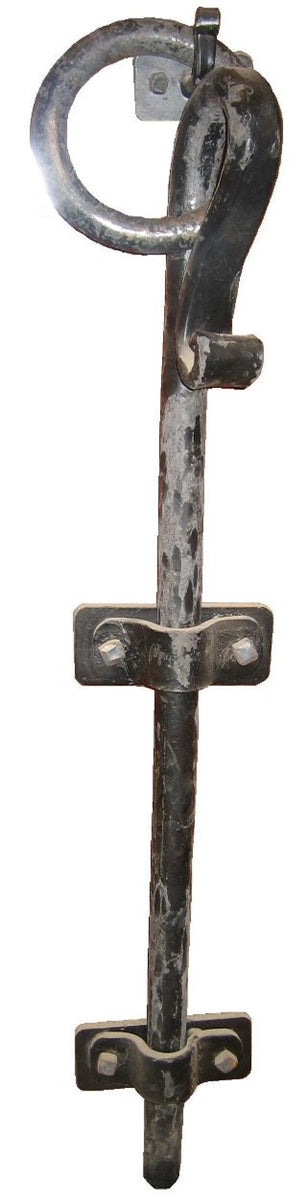
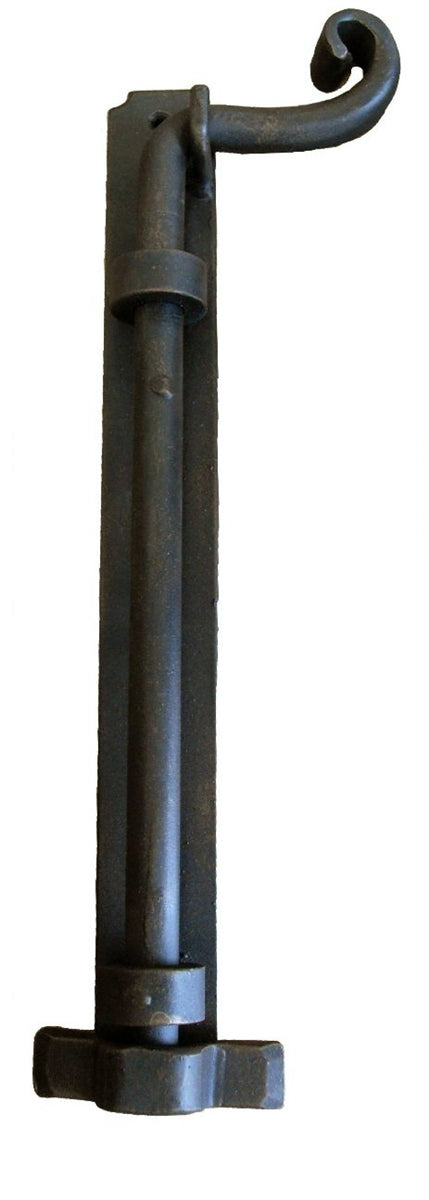
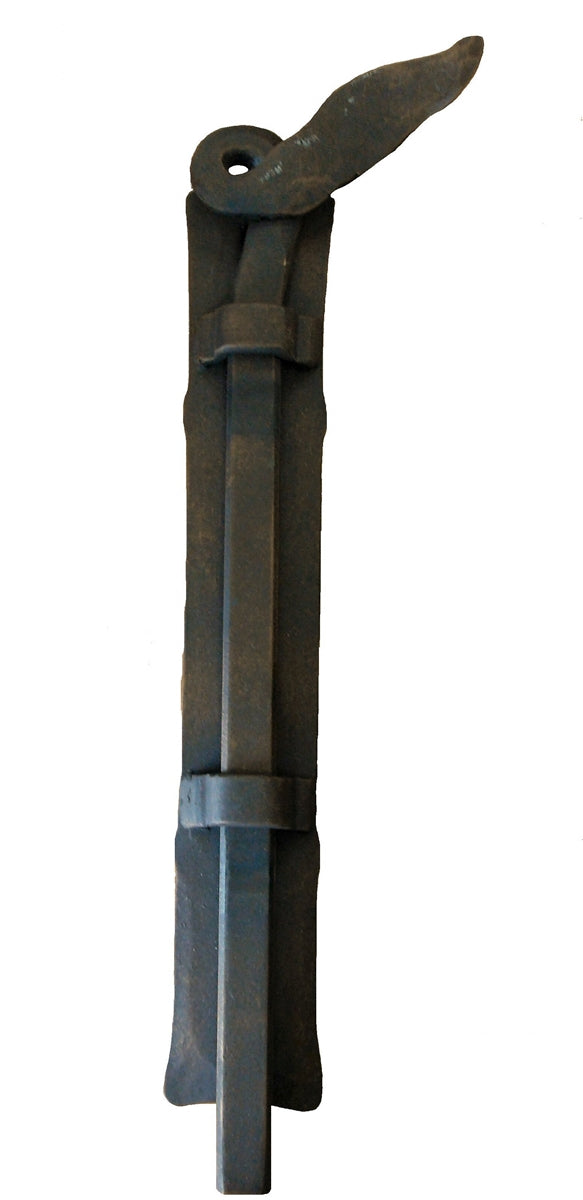
A cane bolt (also called a drop rod) is a vertical metal bar that holds one gate leaf or door securely in place by dropping into a hole in the ground or a mounted receiver. It’s essential for double gate setups and ideal for areas with strong winds or uneven ground.
Looking for one? Check out our full line of wrought iron cane bolts — hand-forged in the USA.
Our Mounting Options
Not every gate or door is the same — that’s why we offer multiple custom mounting options to fit your setup:
-
Bottom Right Mounting – Most common for double gates; mounts inside right panel, drops into the ground.
-
Bottom Left Mounting – Ideal when the left gate leaf is the fixed side.
-
Top Right Mounting – Useful for tall doors or for extra security at the top.
-
Top Left Mounting – For securing the upper portion of a left-hand gate or door.
We craft each bolt to fit your specific mounting position, so you get a snug, functional fit that looks intentional — not like a workaround.
Need help choosing the right mounting style? Just send us your gate specs and we’ll guide you to the best fit.

What You’ll Need
-
Drill and bits (wood or masonry)
-
Screws or lag bolts
-
Measuring tape
-
Pencil or marker
-
Optional: ground sleeve or masonry anchors
Step-by-Step Installation
1. Choose the Fixed Side
Pick which gate leaf or door panel will remain stationary. The cane bolt will mount to this side, near the top or bottom, depending on your setup.
2. Mark Bracket Placement
Hold the cane bolt in place and use a pencil to mark the mounting points for the brackets. Be sure to leave room for the bolt to fully drop into its receiver.
3. Mount the Brackets
Drill pilot holes and install your brackets using the included lag screws. Ensure the bolt can move smoothly within the guides.
4. Mark the Drop or Catch Point
With the bolt in place, mark the point where it meets the ground (or header, if top-mounted). This is where you’ll drill or install a catch.
5. Drill or Prep the Receiver Hole
Drill into the ground or header to create a receiving hole for the bolt. For concrete, use a masonry bit. For a cleaner look, you can install a ground sleeve.
6. Test Fit and Adjust
Insert the bolt fully and confirm it locks into place. Adjust bracket alignment as needed for smooth, secure operation.
Optional: Lock It Up
Our cane bolts come with a pre-drilled locking hole, perfect for adding a padlock and keeping your gate even more secure.
Built to Endure
Every cane bolt we make is forged by hand with traditional tools, designed to withstand the elements and the years. Our bolts are available in custom sizes, textures, and finishes, and built to match the rest of your gate hardware for a cohesive, heirloom-quality look.
Want the full look? Pair your bolt with our decorative screws and lag bolts for a unified, rugged finish.
Shop Our Cane Bolts & Accessories
→ Shop Cane Bolts
→ Decorative Screws
Questions? We’ve Got You Covered
Need help deciding on the right size, finish, or mounting position?
Our team is happy to help — just shoot us a message or give us a call.
You’ll be talking to a real person from our family-run shop in Idaho.