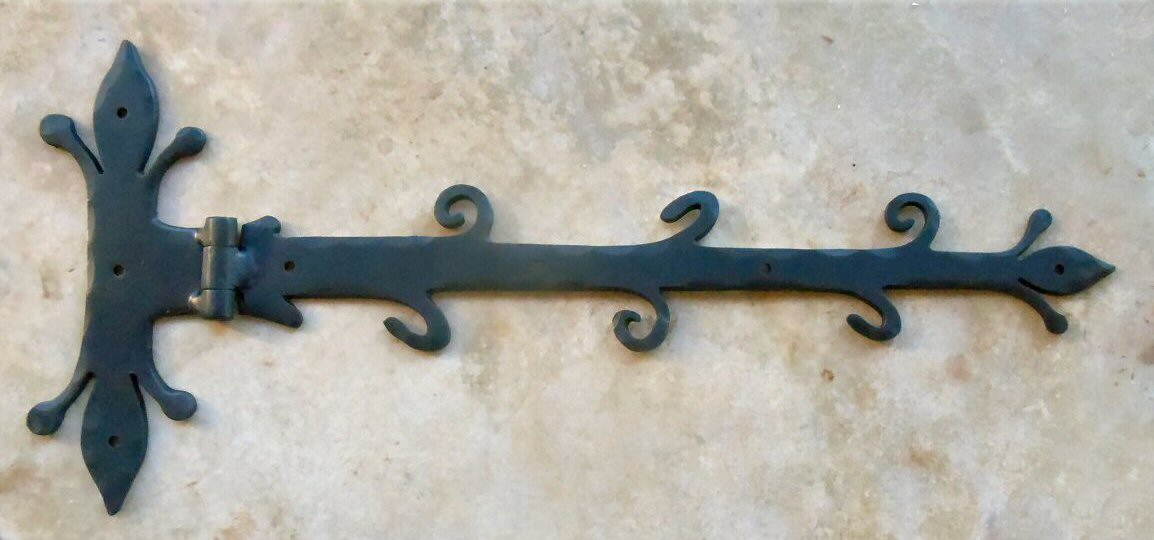
Every hinge strap we make is forged with pride—by hand, right here in the USA. Whether you're outfitting barn doors, garden gates, or custom cabinets, installing it right ensures it stays strong and looks timeless.
Strong as Steel. Built to Last.
When you're hanging a heavy door, gate, or shutter—especially the kind that deserves hardware with grit and character—a hinge strap does more than hold things up. It brings a sense of history, craftsmanship, and strength to your build. Whether you're restoring an old barn or building something new with Old World charm, here's how to properly install a hinge strap so it not only looks right—but functions for generations.
- What You’ll Need:
- Your hinge strap(s) from
Old West Iron - Matching lag screws or decorative bolts
- Power drill with appropriate bits
- Level
- Tape measure
- Pencil or chalk
- Optional: Pilot bit and sockets for hardware tightening

- Step-by-Step Hinge Strap Installation
- 1. Choose Your Hinge Placement
- Determine the hinge location based on the weight and size of your door or gate. Typically, two to three hinge straps are used per door: one near the top, one near the bottom, and a third in the center for larger or heavier doors.
- ✅ Pro Tip: Make sure your surface is clean and level before starting installation.
- 2. Mark Your Mounting Holes
- Hold the hinge strap up against the door in its intended position. Use a pencil or chalk to mark through the holes in the hinge strap onto the door or gate.
- ✅ Our straps come in both left-hand and right-hand orientations, as well as reversible designs. Check product listings to ensure you’re working with the correct side before drilling.
- 3. Drill Pilot Holes
- Use a drill bit slightly smaller than your lag screw or bolt diameter to drill pilot holes where you made your marks. This helps prevent splitting and ensures the hardware goes in cleanly.
- 4. Secure the Strap
- Place the hinge strap back in position and drive in your lag screws or bolts. For a flush, authentic look, we recommend pairing your hinge with Old West Iron’s decorative screw heads or square head lag bolts.
- 🛠️ Don’t overtighten—let the iron sit firm but not forced to avoid damaging wood fibers or the finish on your hardware.
- 5. Install the Pintle or Hinge Pin
- If you’re working with a pintle-style hinge (strap + pin), install the pintle mount onto the door frame or wall in alignment with the installed strap. Make sure everything swings freely and evenly.
- 🎯 A level and a helper go a long way here.
- 6. Test and Adjust
- Open and close the door a few times to make sure the strap swings smoothly and hangs level. If it rubs or sags, adjust your mounting slightly before final tightening.

- Bonus: Matching the Look
- Want your whole setup to look cohesive? Explore our decorative lag bolts, rustic screw heads, and textured finishes that match our straps—each forged and hand-finished to give your project that one-of-a-kind, heirloom quality.
- Built by Hand. Built to Hold.
- Every hinge strap we make is forged with pride—by hand, right here in the USA. Whether you're outfitting barn doors, garden gates, or custom cabinets, installing it right ensures it stays strong and looks timeless.
- Need help picking the right size or style? Give us a call or text a photo of your project to (208) 904-6820 and we’ll help you out.
